Quarantine Malicious Files
Prerequisites
1. Create Amazon S3 buckets
- Create a ‘Promote bucket’ to receive clean files. Example:
fss-promote. - Create a ‘Quarantine bucket’ to receive quarantined files. Example:
fss-quarantine.
Remember that S3 bucket are an unique name globally for all AWS customers. If you try to use the same name from this workshop you will have some issues with an existing S3 bucket name already created.
📌 If you need help on how to create an Amazon S3 bucket here is the step-by-steps: Link
2. Find the ‘ScanResultTopic’ SNS topic ARN
- In the AWS console, go to Services > CloudFormation > your all-in-one stack > Resources > your storage stack > Resources.
- Scroll down to locate the ScanResultTopic Logical ID.
- Copy the ScanResultTopic ARN to a temporary location. It will look like this:
arn:aws:sns:us-east-1:123445678901:FileStorageSecurity-All-In-One-Stack-StorageStack-1IDPU1PZ2W5RN-ScanResultTopic-N8DD2JH1GRKF

Deploying Post Scan Action (Functions) - Promote and Quarantine
In this case, let’s use the Serverless Application Repository
- Visit the app’s page on the AWS Lambda Console.
- Fill in the parameters:
- ScanResultTopic
- ScanningBucketName
- PromoteBucketName
- QuarantineBucketName
- Optionally, you can customize the name of the Cloud Formation stack that will be created
- Check the
I acknowledge that this app creates custom IAM roles.checkbox. - Click
Deploy.


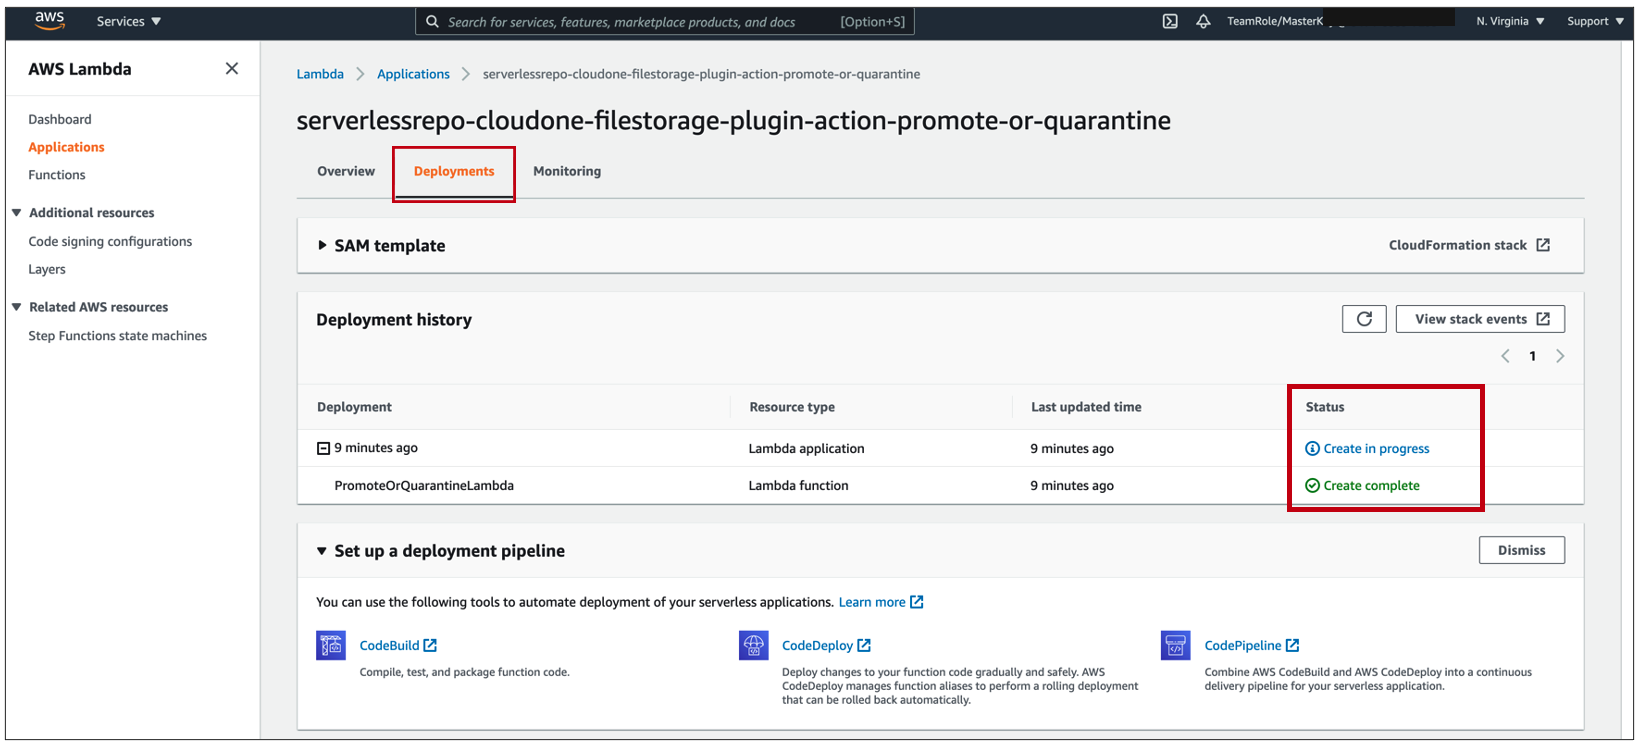
5. After couple minutes you can click on the tab Deployments and expand the deployment to see if the status shows as complete. Then you can move to the next step to test it.
Test the Application
To test that the application was deployed properly, you’ll need to generate a malware detection using the eicar test file, and then check the Quarantine bucket to make sure the eicar file was sent there successfully.
-
Download the Eicar test file
- NOTE: We recommend using the AWS CloudShell process in the previous “Testing your deployment” section as most users cannot disable their virus scanner.
- Temporarily disable your virus scanner or create an exception, otherwise it will catch the
eicarfile and delete it. - Browser: Go to the eicar file page and download
eicar_com.zipor any of the other versions of this file. - CLI:
curl -O https://secure.eicar.org/eicar_com.zip
-
Upload the eicar file to the ScanningBucket
-
Using the AWS console
- Go to CloudFormation > Stacks > your all-in-one stack > your nested storage stack.
- In the main pane, click the Outputs tab and then copy the ScanningBucket string. Search the string in Amazon S3 console to find your ScanningBucket.
- Click Upload and upload
eicar_com.zip. File Storage Security scans the file and detects malware. - Still in Amazon S3, go to your Quarantine bucket and make sure that
eicar.zipfile is present. - Go back to your ScanningBucket and make sure the
eicar.zipis no longer there.
📌 It can take 15-30 seconds or more for the ‘move’ operation to complete, and during this time, you may see the file in both buckets.
-
Using the AWS CLI
- Enter the folowing AWS CLI command to upload the Eicar test file to the scanning bucket:
aws s3 cp eicar_com.zip s3://<YOUR_SCANNING_BUCKET> - where:
<YOUR_SCANNING_BUCKET>is replaced with the ScanningBucket name.
NOTE: It can take about 15-30 seconds or more for the file to move.
- Enter the folowing AWS CLI command to upload the Eicar test file to the scanning bucket:
-

Using the AWS CLI or the AWS Console, you should be able to see the eicar file in your QuarantineBucketName with the correct tags.
Awesome, You did it! 🎉