Deploy Lifecycle
Automate Storage Stack deployment to new S3 buckets.
In this integration, we will deploy a CloudFormation template to ensure File Storage Security monitors any new S3 buckets that are created. Additionally anytime a S3 bucket resource is terminated, this template will automatically remove all deployed security resources to monitor the bucket.

Prerequisites
1. Obtain your Cloud One Account Region.
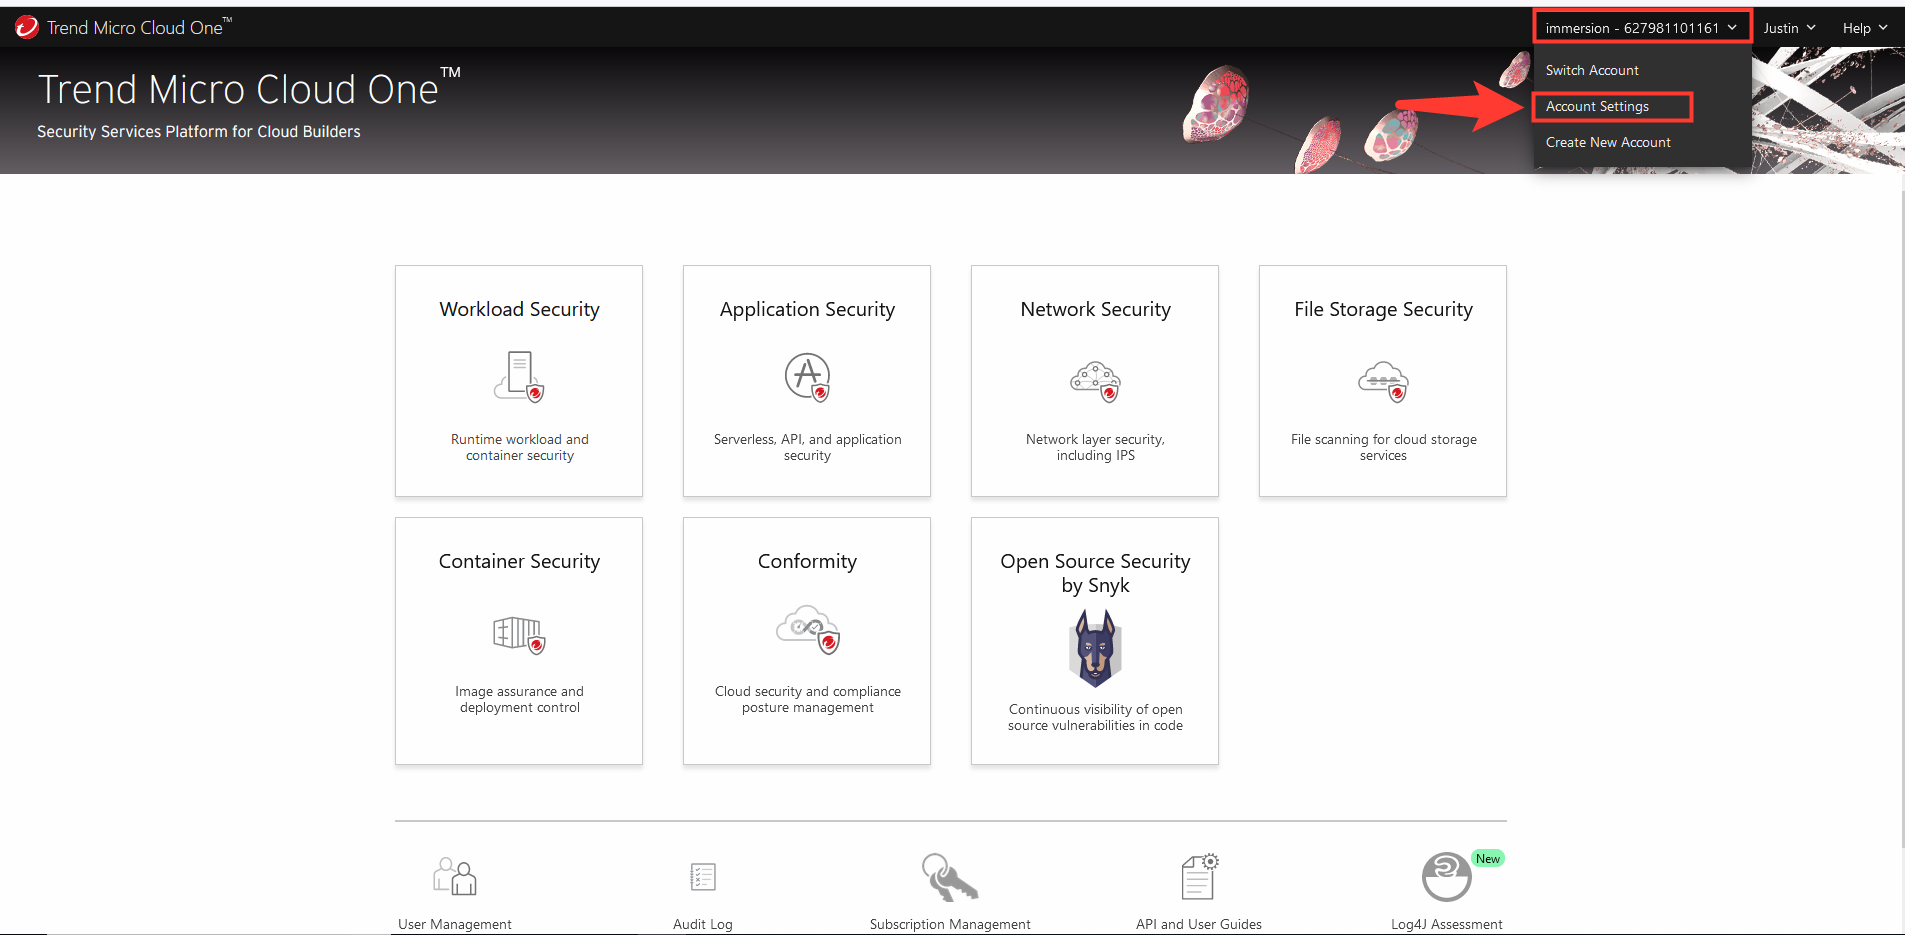
- Sign into Cloud One
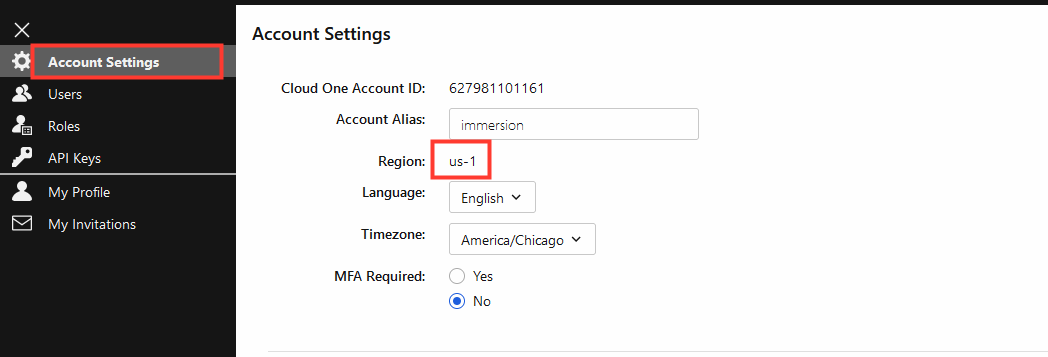
- Select Account Settings
- Copy down the Region: e.g us-1
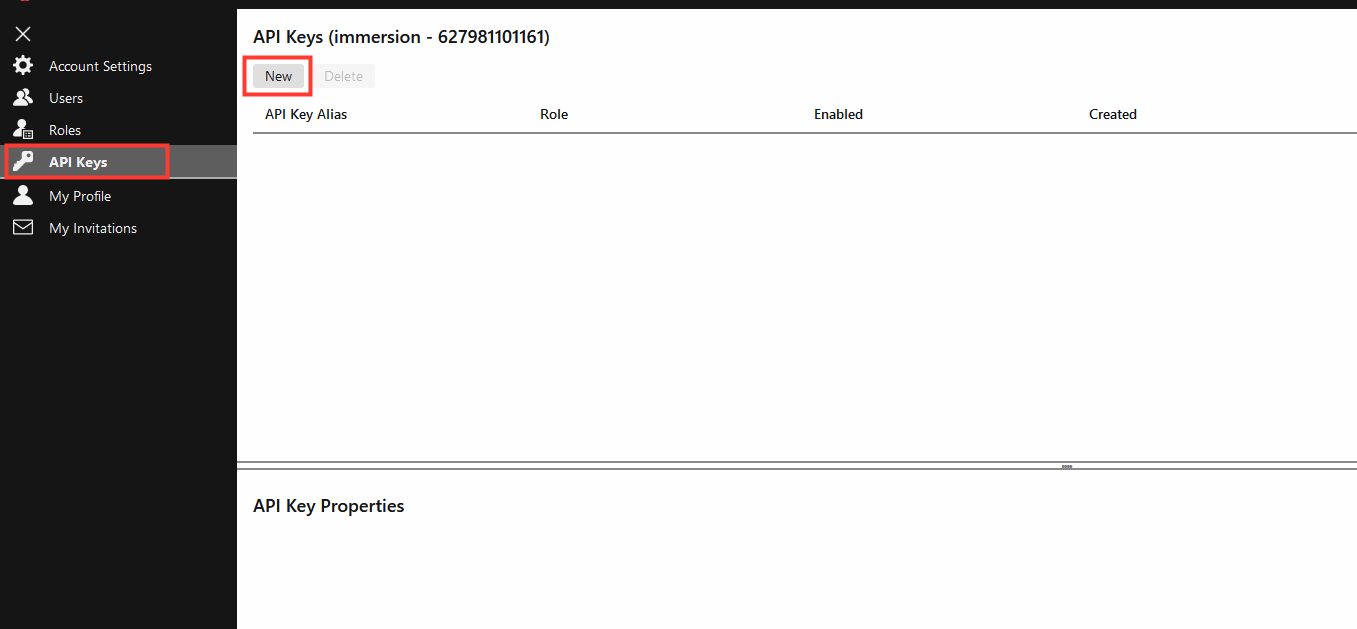
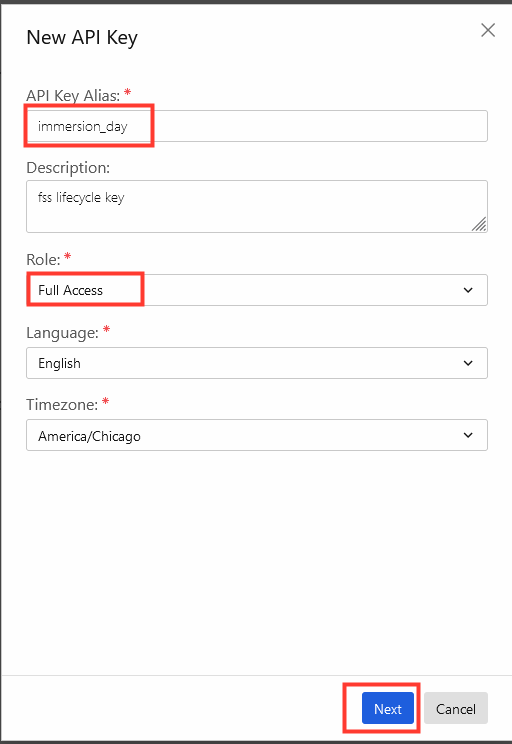
2. Under Account Settings in Cloud One, create a new API Key.
-
Select API Keys from left-hand menu
-
Click New
-
API Key Alias:
immersion_day -
Description: Optional
-
Role:
Full Access -
Language: preferred language
-
Language: preferred language
-
Timezone: preferred timezone
-
Click Next
-
Copy down your API Key in a safe place.
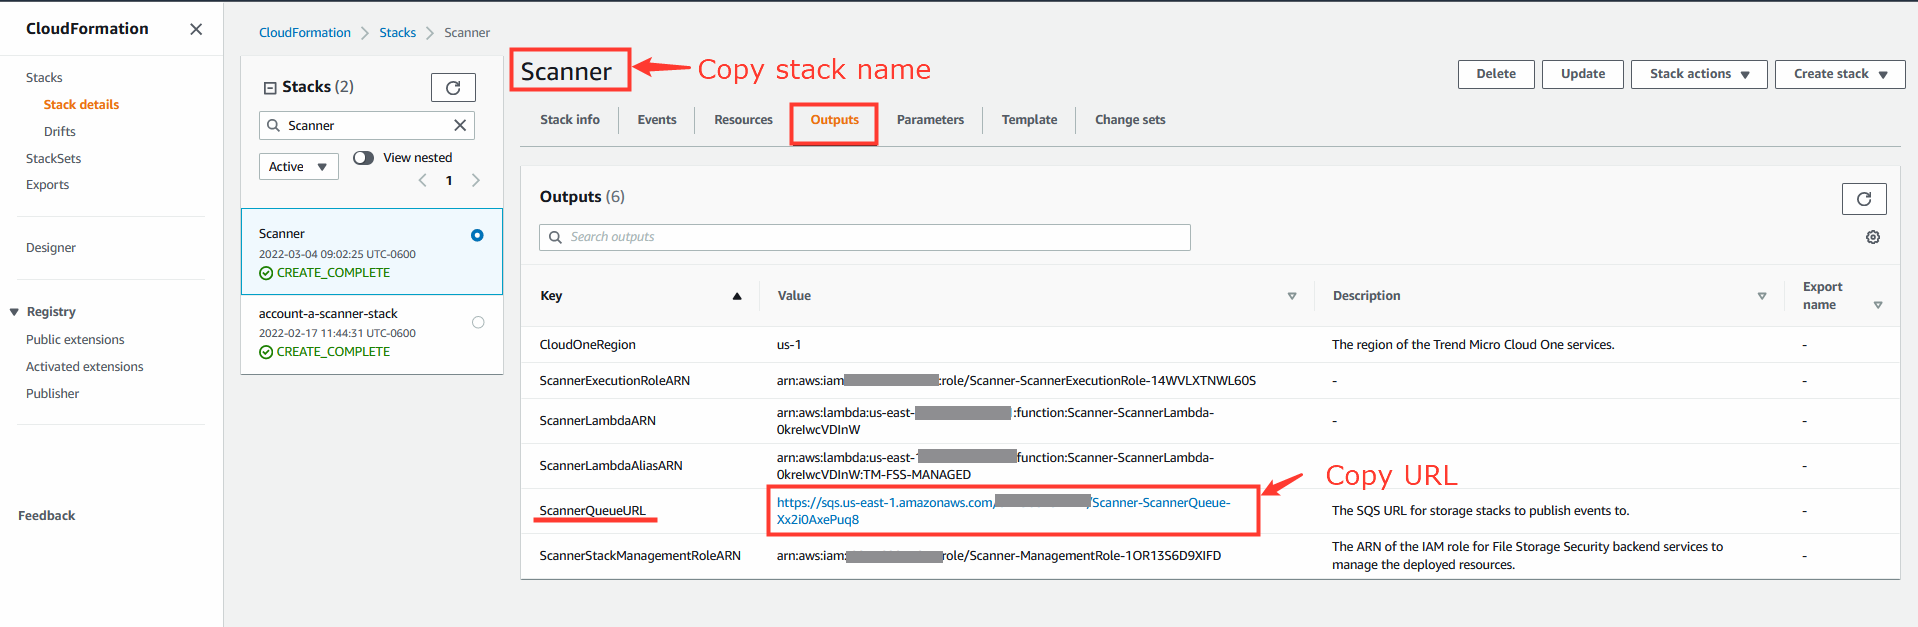
3. Obtain the name of the Scanner Stack and the Scanner Stacks SQS URL.
- Navigate to AWS CloudFormation
- Locate and select your deployed Scanner Stack
- Click the tab named Outputs.
- Copy down your Scanner Stacks name
- Locate the key ScannerQueueURL
- Copy down the ScannerQueueURL value.
Deploy the CloudFormation template below

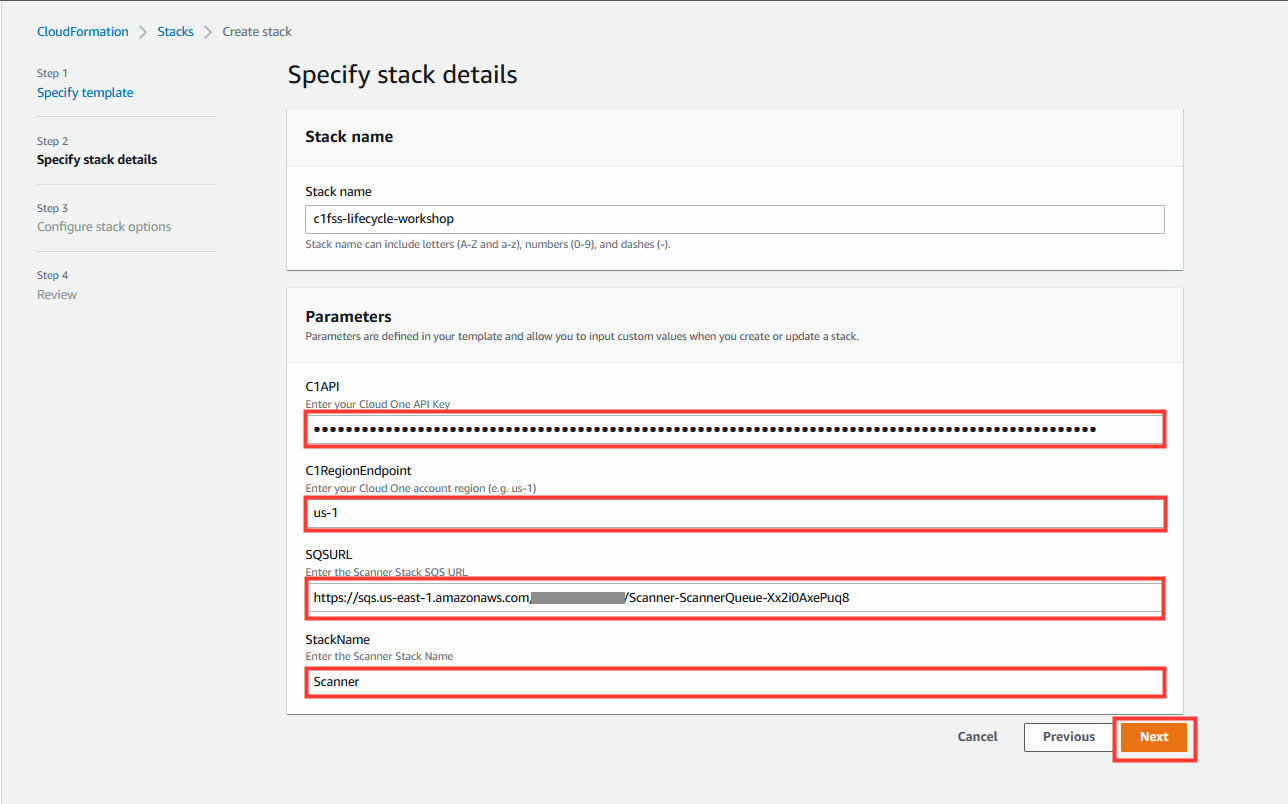
1. Fill in the required template parameters with the values copied down previously.
- C1API: paste your cloud one api key
- C1RegionEndpoint: paste your cloud one account region
- SQSURL: paste the sanner stack’s sqs url value
- StackName: paste the name of your deployed Scanner stack
- Click Next
- Optional - Configure tags if desired.
- Click Next
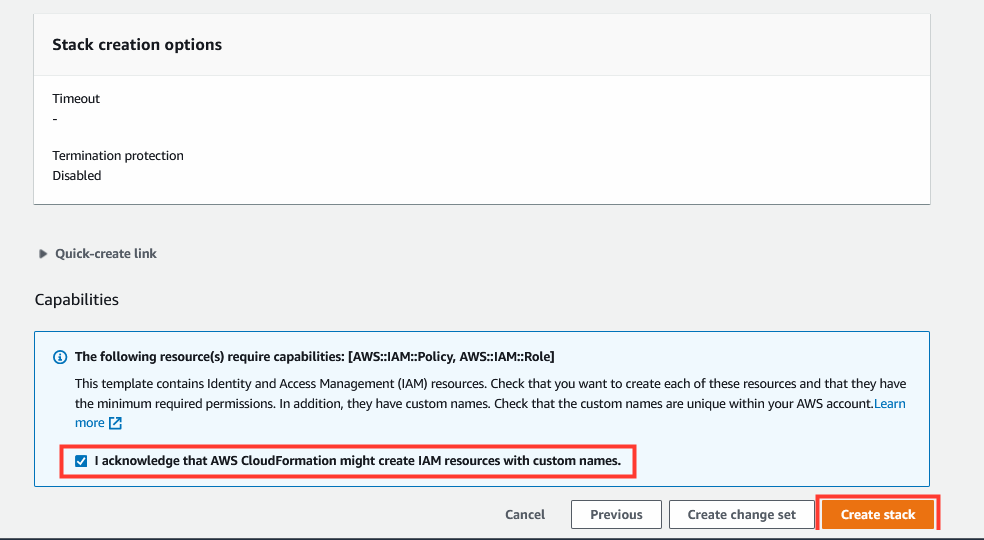
- Check the box at the bottom to acknowledge IAM resource creation.
- Click Create Stack
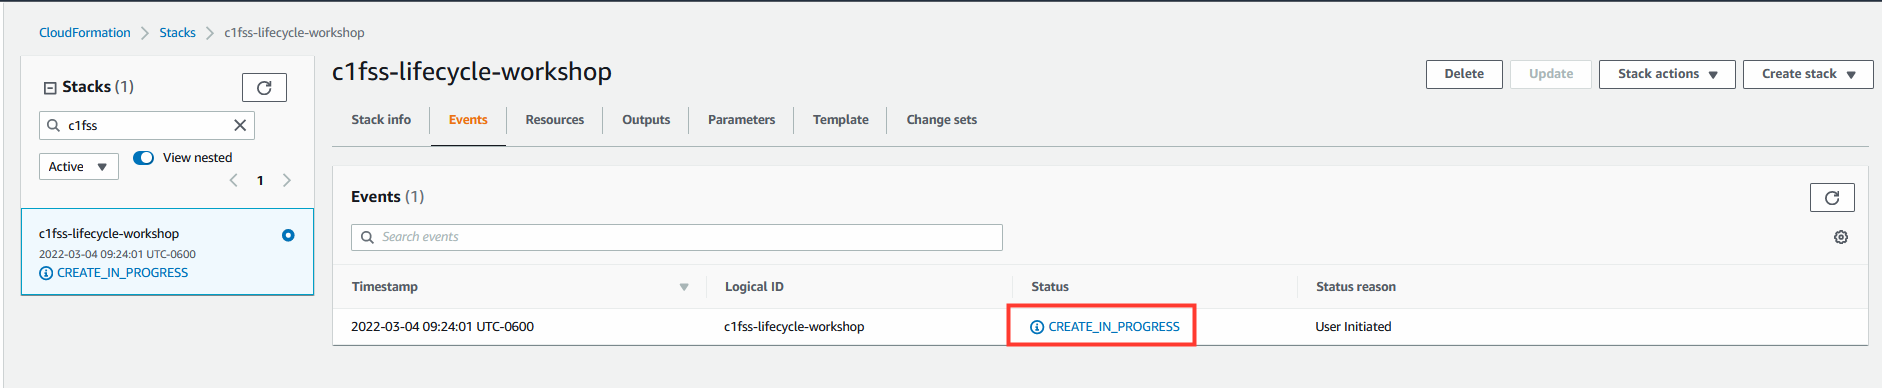
2. Monitor the stack deployment until it reaches status: Create_Complete

Test the automation
Create a new S3 bucket
-> CLICK HERE - Step by step instruction to create a S3
1. Sign in to the AWS Management Console and open the Amazon S3 console at https://console.aws.amazon.com/s3/.

2. Choose Create bucket. The Create bucket wizard opens.

3. In Bucket name, enter a DNS-compliant name for your bucket. The bucket name must:
- Be unique across all of Amazon S3.
- Be between 3 and 63 characters long.
- Not contain uppercase characters.
- Start with a lowercase letter or number.
After you create the bucket, you can’t change its name. For information about naming buckets, see Bucket naming rules.
Remember that S3 bucket are an unique name globally for all AWS customers. If you try to use the same name from this workshop you will have some issues with an existing S3 bucket name already created.

4. Scroll down and click on Create bucket.
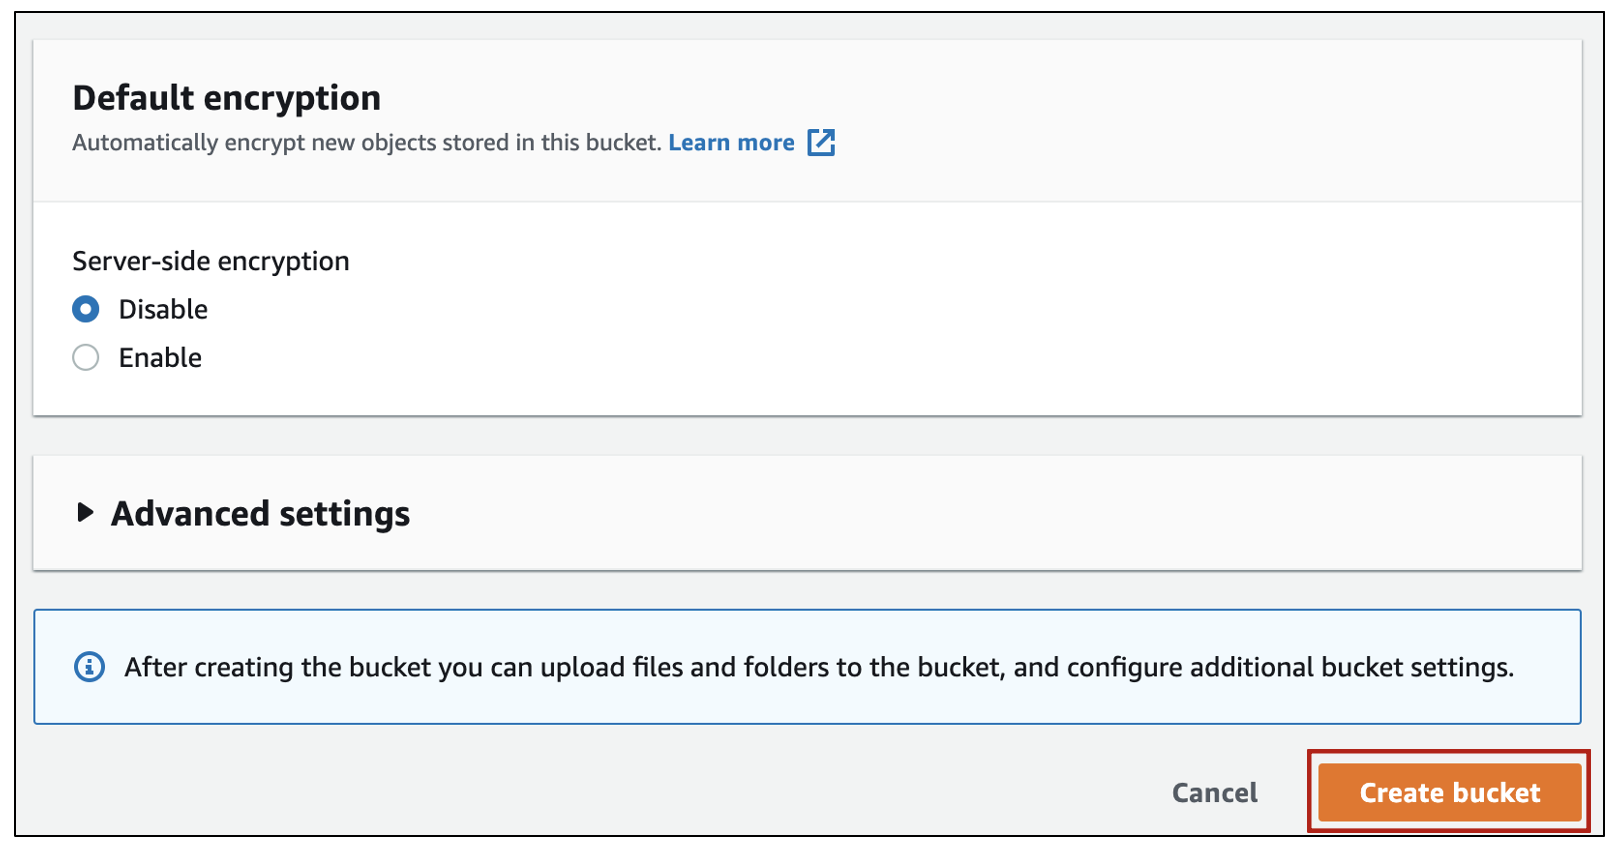
5. Now you have successfully create a S3 bucket for the workshop.
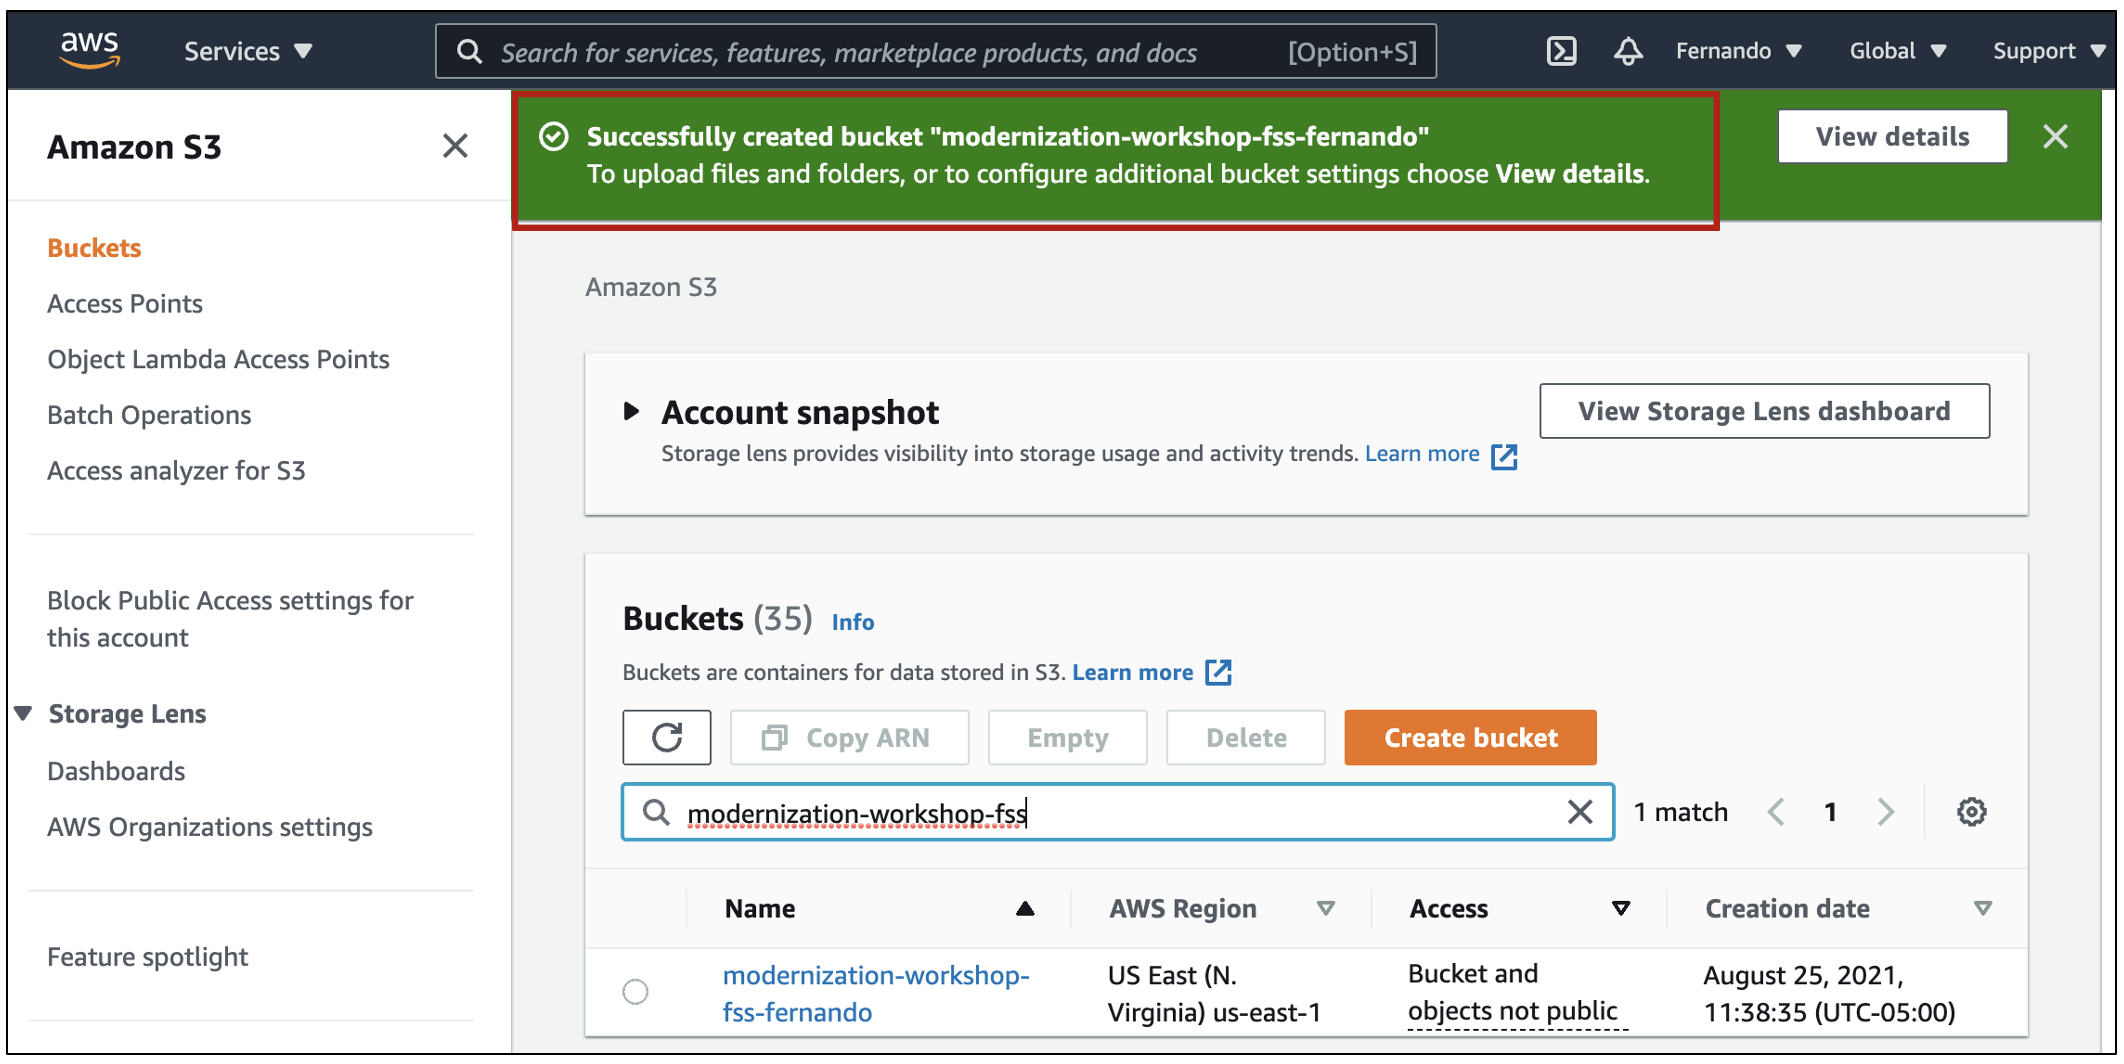
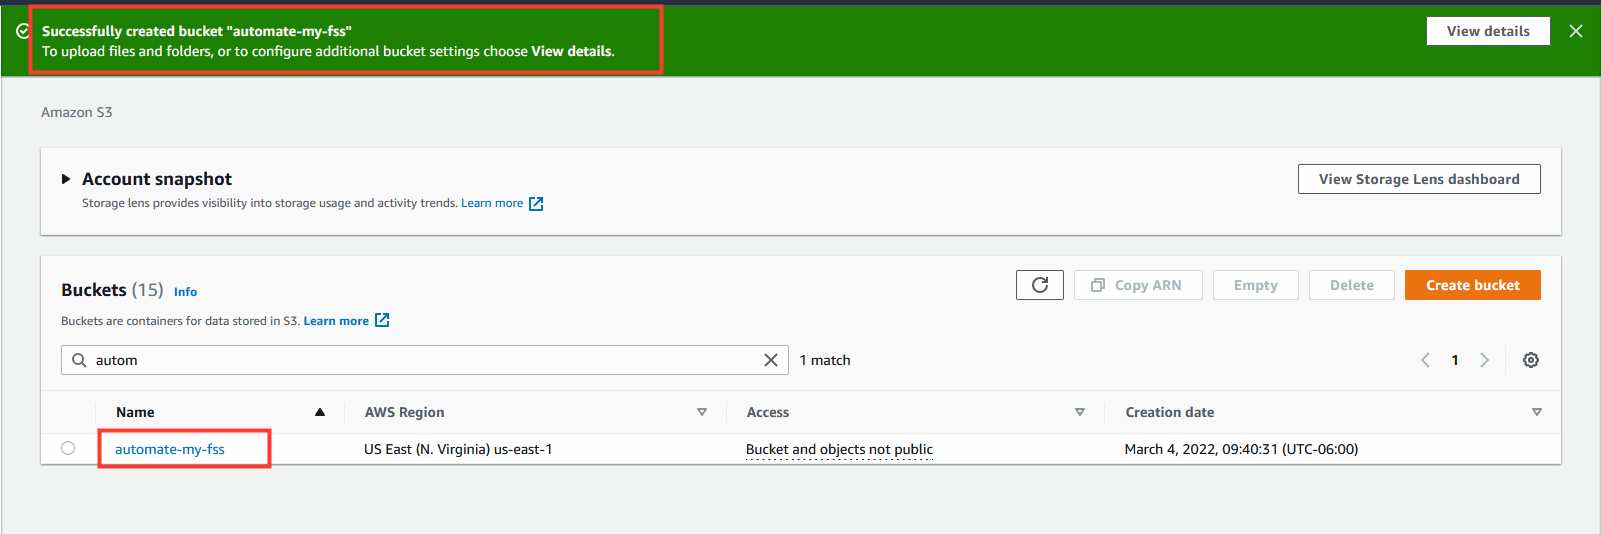
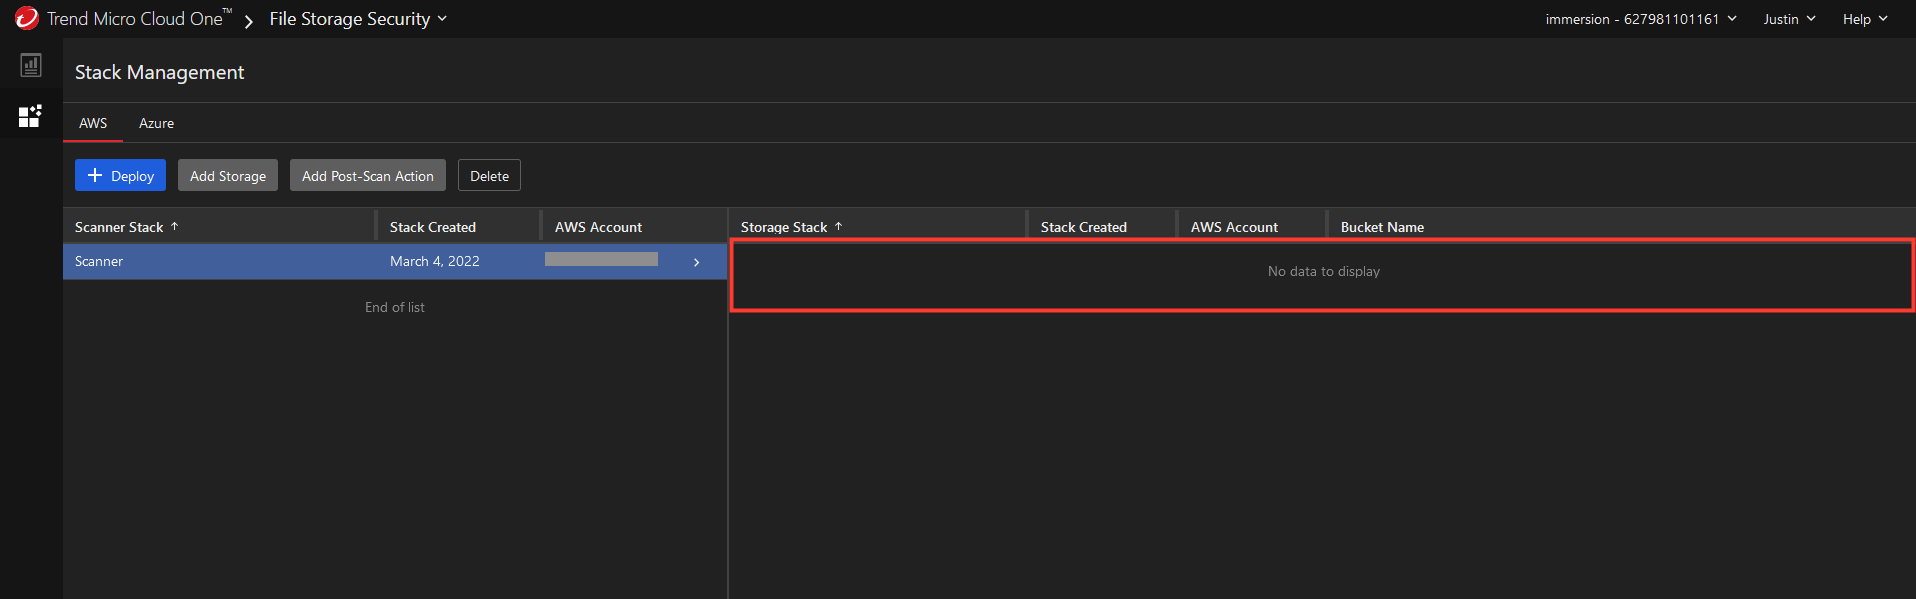
After the S3 bucket has been created monitor CloudFormation to see the new Storage stack being deployed automatically.
- Wait for the stack to reach create complete
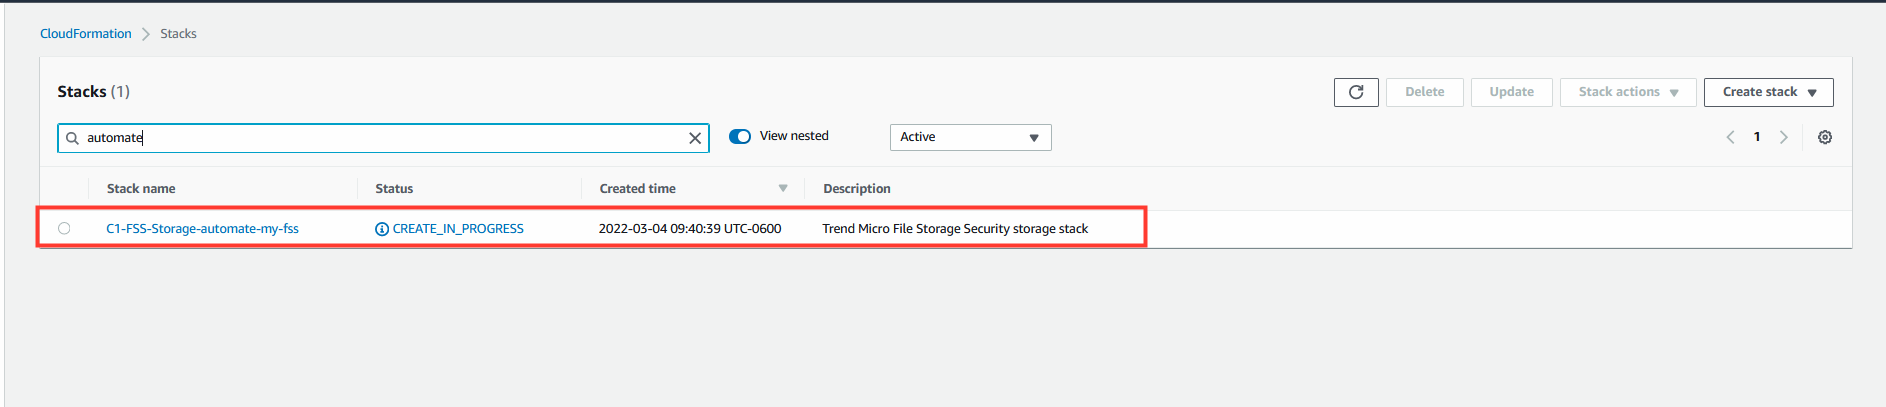

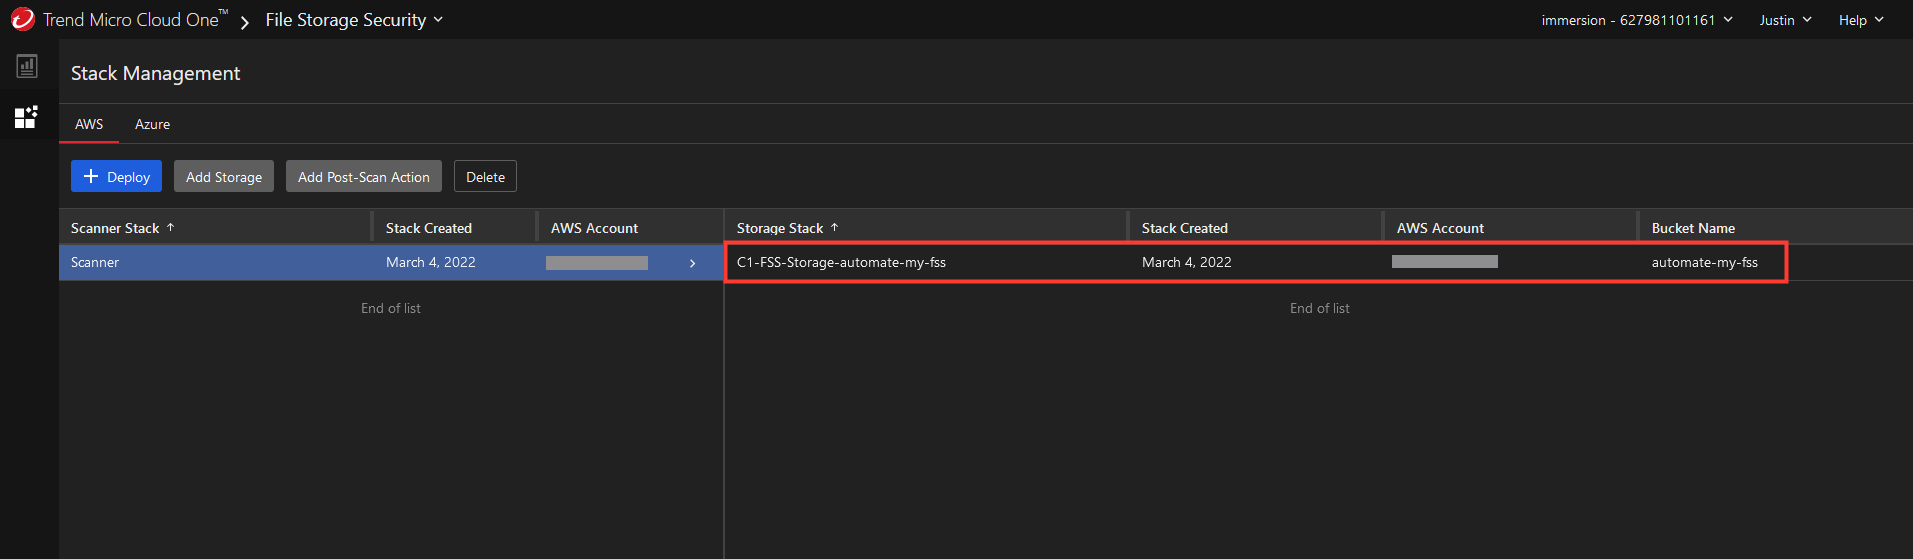
- Once the stack to reaches create complete check your Cloud One File Storage Console for the newly monitored bucket.
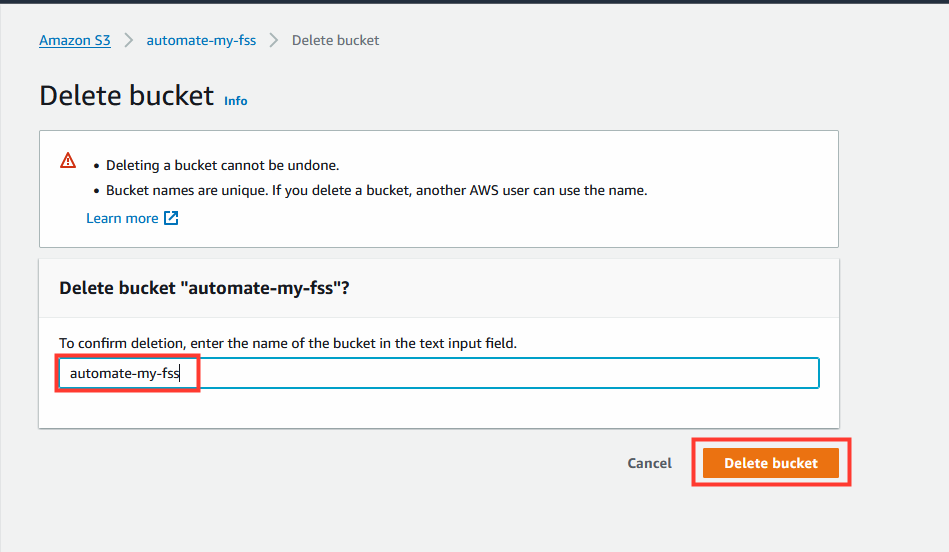
Now delete the S3 bucket resource your just created
- In AWS navigate to S3
- Locate and select the bucket created in the last step
- Click Delete
- Confirm deletion by pasting bucket name and clicking Delete bucket

- Check cloudformation to see the stack being removed.

- Once the stack is deleted check your Cloud One File Storage Console for the newly monitored bucket.